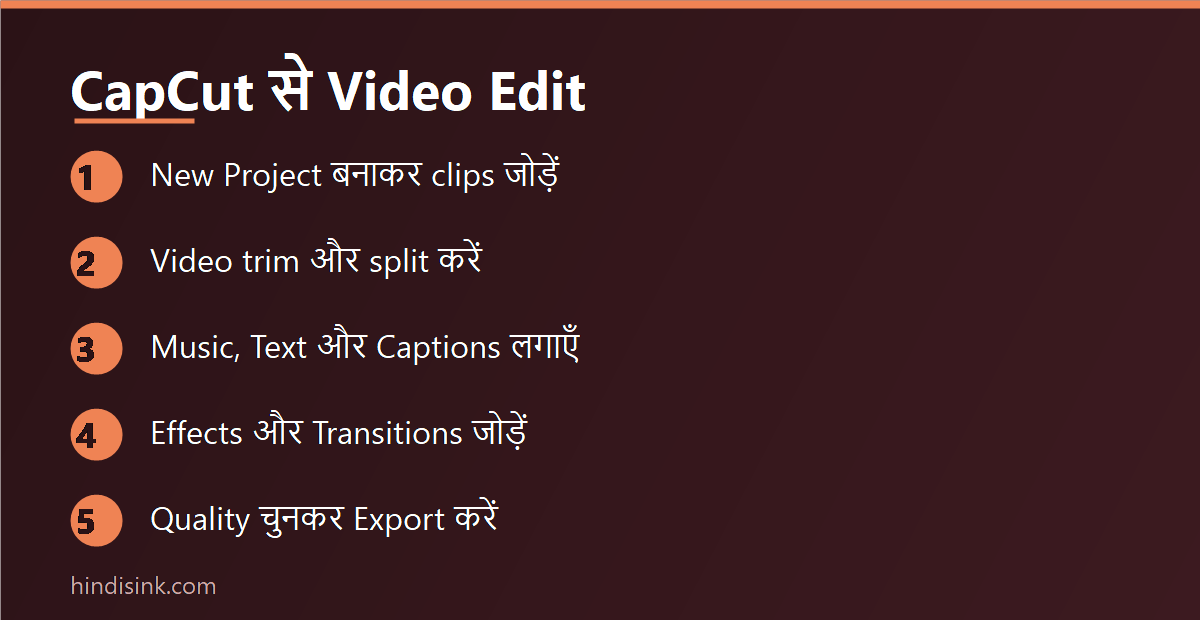
CapCut se video edit kaise kare? इसका पूरा काम पाँच steps का है — New Project में clips import करें, Split से fizool हिस्से काटें, Audio से music लगाएँ, Text से caption डालें और Export में 1080p चुनकर save कर लें। एक 30 सेकंड की Reel इसमें मुश्किल से 10-15 मिनट लेती है। लेकिन इससे पहले एक ज़रूरी बात, जो ज़्यादातर गाइड नहीं बतातीं: भारत में CapCut अब Play Store और App Store, दोनों पर नहीं मिलता। नीचे पहले वही साफ़ किया है, फिर पूरी editing guide है, और आख़िर में वे apps हैं जो भारत में सच में चल रही हैं।
CapCut India Me Kyu Nahi Chal Raha Hai?
20 सितंबर 2026 को मैंने ख़ुद तीनों जगह check किया, नतीजा ये रहा:
- Google Play (India) — CapCut का listing page खुलता ही नहीं, “Not found” आता है। वही page अगर US region में खोलें तो normal खुल जाता है। यानी app हटी नहीं है, भारत के Play Store से हटाई गई है।
- Apple App Store (India) — भारतीय store में CapCut का entry नहीं मिलता, जबकि US store में मौजूद है।
- capcut.com (website) — भारत से खोलने पर server सीधा 451 Unavailable For Legal Reasons लौटाता है, यानी legal वजह से भारत में block है। यही website किसी विदेशी server से खोलें तो normally load होती है।
इसका मतलब यह है कि “CapCut web version चला लो” वाला मशहूर जुगाड़ भी भारत में काम नहीं करता — browser से capcut.com खोलने पर blank page या error ही मिलेगा। और जो लोग “capcut download kyu nahi hota” या “capcut kyu nahi chal raha hai” search कर रहे हैं, उनके फ़ोन में कोई ख़राबी नहीं है।
Jinke Phone Me CapCut Pehle Se Install Hai, Unka Kya?
पहले से installed app आमतौर पर खुलती रहती है और offline editing चलती रहती है, लेकिन दो चीज़ें रुक जाती हैं — Play Store से update नहीं आएगा, और templates, cloud sync या online effects जैसे वे features जो server से data लाते हैं, अटक सकते हैं। App uninstall कर दी तो दोबारा लगाना Play Store से मुमकिन नहीं होगा।
APK Se CapCut Install Karna Chahiye?
ईमानदारी से — नहीं। “capcut pro apk” और “capcut mod apk” वाले जितने भी links अभी Google पर भरे पड़े हैं, उनमें से किसी की भी publisher verification नहीं होती। Video editor app को gallery, storage और mic तीनों का access चाहिए होता है, इसलिए modified APK से नुक़सान की गुंजाइश आम apps से ज़्यादा है। जिस app का official distribution ही भारत में बंद है, उसका unofficial build सिर्फ़ Reels बनाने के लिए इंस्टॉल करना सौदा ख़राब है। Link खोलने से पहले उसकी जाँच का तरीक़ा कोई भी link खोलने से पहले उसकी सुरक्षा कैसे जाँचें में लिखा है।
App की current availability आप ख़ुद भी CapCut की official website खोलकर देख सकते हैं — अगर वह भारत से खुलने लगे, तो समझिए स्थिति बदल गई है।
CapCut Se Video Edit Kaise Kare – Step by Step Guide
अगर app आपके फ़ोन में पहले से है, तो पूरा तरीक़ा ये रहा। अच्छी बात यह है कि VN और InShot का layout भी लगभग यही है, इसलिए ये steps वहाँ भी काम आ जाएँगे।
1. New Project Start Kare
CapCut खोलकर New Project पर tap करें और gallery से clips select करें। Import होते ही नीचे timeline खुल जाती है — यही आपकी पूरी editing का main area है। शुरू में project का aspect ratio सेट कर लें: Reels और Shorts के लिए 9:16, YouTube के long video के लिए 16:9. बाद में बदलने पर frame कटता है।
2. Clips Ko Trim Aur Split Kare
Timeline में जहाँ cut चाहिए वहाँ playhead ले जाएँ और Split दबाएँ, फिर बेकार टुकड़ा select करके Delete कर दें। Clip के किनारे को पकड़कर खींचने से भी trim होता है। Reels में शुरुआती 2 सेकंड सबसे ज़्यादा मायने रखते हैं — intro, “hello doston” और खाली frames वहीं से हटा दें।
3. Speed Aur Freeze Set Kare
Clip select करके Speed → Normal से पूरी clip की रफ़्तार बदलती है और Speed → Curve से एक ही clip के अंदर slow-fast का effect आता है। ध्यान रखें कि speed बढ़ाने पर audio की pitch भी बदल जाती है — बोलती हुई video में “Pitch” वाला toggle बंद कर दें, वरना आवाज़ कार्टून जैसी हो जाती है।
4. Background Music Aur Voice Add Kare
Audio → Sounds से in-app music, Extracted से किसी दूसरी video का audio, और Voiceover से अपनी आवाज़ रिकॉर्ड होती है। Background music का volume 15-25% के बीच रखें — इससे ऊपर जाते ही बोलने वाली आवाज़ दबने लगती है। और एक असली दिक़्क़त: app की library का गाना Instagram या YouTube पर वही copyright claim ला सकता है, क्योंकि platform अपनी अलग licensed library रखता है। सुरक्षित तरीक़ा यह है कि music उसी platform की अपनी library से जोड़ें जहाँ video डालनी है।
5. Text Aur Auto Captions Lagaye
Text → Add text से title डालें और Text → Auto captions से पूरी video की बोली अपने आप caption में बदल जाती है। हिंदी और Hinglish बोलने पर auto caption अक्सर आधे शब्द ग़लत लिखता है, इसलिए generate होने के बाद एक बार पढ़कर ठीक ज़रूर करें। Caption को frame के बिल्कुल नीचे मत रखें — Reels में वहाँ platform का अपना caption और button आ जाता है, और text ढक जाता है।
6. Filters, Effects Aur Transitions
दो clips के जोड़ पर बना सफ़ेद वर्गाकार icon दबाने से Transitions खुलते हैं — fade और dissolve ज़्यादातर जगह सही बैठते हैं। Filters कम opacity पर रखें। एक practical बात: effects और filters export का समय और फ़ाइल का size दोनों बढ़ाते हैं, और कम RAM वाले फ़ोन पर preview lag करने लगता है। ऐसे में effects सबसे आख़िर में लगाएँ, editing के बीच में नहीं।
7. Export Settings Aur Final Save
ऊपर दाईं तरफ़ resolution वाले button से 1080p, 30fps चुनें — यह Reels, Shorts और WhatsApp तीनों के लिए ठीक रहता है। 4K तभी चुनें जब original footage भी 4K में शूट हुई हो, वरना सिर्फ़ फ़ाइल भारी होगी, quality वही रहेगी। Export से पहले video पूरी एक बार चलाकर देख लें: कहीं आधा शब्द कटा तो नहीं, audio का अंत अचानक तो नहीं टूट रहा, caption किसी चेहरे पर तो नहीं आ रहा।
Watermark Ka Sach
CapCut ख़ुद video पर watermark नहीं लगाता, लेकिन अगर आपने कोई template इस्तेमाल किया है तो उसके आख़िरी frame में ending logo जुड़ जाता है। Export से ठीक पहले timeline के अंत में वह छोटा clip select करके delete कर दें — watermark अपने आप ग़ायब।
CapCut Se Professional Video Banane Ke Tips
- Video की शुरुआत के 2 सेकंड में ही मुख्य बात दिखा दें — यहीं से viewer रुकता या निकलता है।
- एक video में दो से ज़्यादा तरह के transitions न मिलाएँ।
- Text इतना बड़ा रखें कि छोटे फ़ोन पर भी पढ़ा जाए, और उसके पीछे हल्का shadow लगाएँ।
- Music और voice का balance एक बार earphone लगाकर ज़रूर सुनें, speaker पर फ़र्क़ पता नहीं चलता।
- हर project को export के बाद delete न करें — thumbnail या correction के लिए दोबारा काम आता है।
Editing से पहले clips तो चाहिए ही, और अब वे बिना कैमरे के भी बन जाते हैं। मोबाइल पर prompt या photo से clip generate करने का तरीका AI से video कैसे बनाएं वाली गाइड में है — उन्हीं clips को यहाँ CapCut में जोड़कर पूरा video बनाया जा सकता है।
CapCut Ki Jagah Kaun Si App Use Kare? (India Me Available)
नीचे वे apps हैं जिनका Play Store listing 20 सितंबर 2026 को भारत में खुल रहा था। Free/paid का हिसाब apps समय-समय पर बदलती रहती हैं, इसलिए install से पहले listing पर एक नज़र डाल लें।
| App | किसके लिए सही | Watermark | ध्यान देने वाली बात |
|---|---|---|---|
| VN Video Editor | CapCut से सबसे मिलता-जुलता timeline, keyframes और curve speed | नहीं (default off) | Interface CapCut जैसा, इसलिए सीखने में सबसे कम समय |
| InShot | Reels, Shorts, जल्दी वाला काम | Free में ending watermark आता है, हटाया जा सकता है | कुछ filters और stickers paid हैं |
| YouTube Create | सिर्फ़ YouTube/Shorts बनाने वाले | नहीं | Google की अपनी app, पर हर पुराने फ़ोन पर install नहीं होती |
| KineMaster | Multi-layer, chroma key, detailed editing | Free version में watermark | Advance features subscription में |
| Canva | Text-heavy videos, ads, presentation style | नहीं | कई अच्छे templates Canva Pro के हैं |
VN Se Video Edit Kaise Kare – Sabse Seedha Switch
अगर आपको CapCut की आदत है तो VN से शुरू करें। इसमें भी New Project → clips select → Split/Trim → Audio → Text → Export वही क्रम है, बस button के नाम थोड़े अलग हैं: CapCut का “Audio” यहाँ Music है और “Auto captions” यहाँ Subtitle → Auto में मिलता है। Export में भी 1080p/30fps वही सही चुनाव है। एक फ़र्क़ ज़रूर मिलेगा — VN में CapCut जैसे ready-made trending templates नहीं हैं, transitions और beat-sync ख़ुद लगाने पड़ते हैं।
Template Wali Trending Video Ab Kaise Banaye?
CapCut templates की सबसे बड़ी जगह अब Instagram और YouTube ख़ुद हैं। Instagram Reels में किसी trending reel के नीचे दिए “Use template” option से वही structure मिल जाता है — आप बस अपने clips डालते हैं और beats पर cut अपने आप लग जाते हैं। YouTube Shorts में भी “Remix” और effects का यही काम है। इसका फ़ायदा यह भी है कि music उसी platform की licensed library से आता है, तो copyright claim की गुंजाइश कम रहती है।
CapCut Se Kaun-Kaun Se Videos Edit Kar Sakte Hain?
Instagram Reels, YouTube Shorts, travel vlogs, coaching और educational videos, product demo, शादी-जन्मदिन की memories — सब इसी तरीक़े से बनते हैं, बस aspect ratio और लंबाई बदलती है। शुरुआत कर रहे हैं तो 15-20 सेकंड की video से शुरू करें, क्योंकि लंबी timeline में ग़लती ढूँढ़ने में ही ज़्यादा समय चला जाता है। Photos से video बनानी हो तो फोटो से वीडियो कैसे बनाते हैं देखें, और cartoon/animation style के लिए कार्टून वीडियो कैसे बनाएं में अलग tools दिए हैं।
Video तैयार हो जाए तो उसे सही title, thumbnail और timing के साथ डालना भी उतना ही मायने रखता है — इसका तरीक़ा YouTube पर वीडियो अपलोड कैसे करें में है। बाक़ी creator tools के लिए हमारी Top Mobile Apps की हिंदी गाइड भी देखें।
अक्सर पूछे जाने वाले सवाल
CapCut kyu nahi chal raha hai ya download kyu nahi ho raha?
क्योंकि भारत के Play Store और App Store, दोनों पर CapCut का listing उपलब्ध नहीं है, और capcut.com भी भारत से legal वजह बताते हुए block है। यह आपके फ़ोन, internet या storage की दिक़्क़त नहीं है — VPN, cache clear या dobara install करने से भी यह ठीक नहीं होगा।
CapCut se video edit kaise kare mobile me?
New Project खोलकर clips import करें, Split से trim करें, Audio से music और Voiceover जोड़ें, Text से caption लगाएँ, फिर Export में 1080p/30fps चुनकर save करें। Template इस्तेमाल किया हो तो export से पहले आख़िरी वाला ending clip हटा दें।
CapCut ka sabse accha free alternative kaunsa hai?
Interface और features दोनों के हिसाब से VN Video Editor सबसे नज़दीक है और उसका free version watermark नहीं लगाता। जल्दी वाली Reels के लिए InShot ठीक है, और सिर्फ़ YouTube बनाने वालों के लिए YouTube Create।
Kya CapCut MOD ya Pro APK install karna safe hai?
नहीं। इन फ़ाइलों का कोई official source नहीं होता और video editor को gallery तथा mic का पूरा access देना पड़ता है। जिस app का official distribution ही भारत में बंद हो, उसका unofficial build इंस्टॉल करने का जोखिम फ़ायदे से बड़ा है।
CapCut se banayi video par watermark kaise hataye?
Watermark सिर्फ़ template वाली videos के आख़िर में आता है। Export से पहले timeline के अंत में मौजूद उस छोटे ending clip को select करके delete कर दें, फिर export करें।
Video edit karne ke liye laptop zaroori hai kya?
Reels, Shorts और 10 मिनट तक की normal videos के लिए बिल्कुल नहीं — ये सब फ़ोन पर हो जाती हैं। Laptop तब ज़रूरी लगता है जब multi-camera footage हो, 4K में रंगों की fine correction करनी हो, या एक घंटे से लंबी timeline हो।